How to make a removable DIY waterproof backing for blankets | DIY waterproof blanket for photographers | Bonney Lake, WA Family Photographer | Brooke Holliday Photography
It’s no secret that the PNW is wet and seated poses can be a challenge in fall and winter.
I myself didn’t want to be confined to only standing poses during the spring, fall and winter in the PNW. I scoured the internet for a solution that wasn’t permanent, IE sewing.
Because I am not the best at sewing and I didn’t want to ask my neighbor for the millionth sewing favor.
I didn’t want to permanently transform my blankets into waterproof ones. I wanted to add the waterproof layer when needed and take it off if I wanted to.
I also didn’t want to buy a waterproof blanket.
They were very expensive
They look stiff and don’t have the same snuggly quality.
Let me tell you that I didn’t find anything that met my criteria. So I brainstormed and I found my own perfect solution.
I came up with a pretty simple solution that hadn’t been blog about yet, at least that I could find.
Snap on waterproof backing for blankets!
Here are the tools that I used to get this job done. You could probably sub out certain things to make your life easier if some of these “techniques” don’t work for you.
Gather up your blanket, a shower curtain, tape measure, straight edge, snaps, Fastener Pliers Press Tool, pen or chalk for marking, safety pin, scissors, hammer.
I found the snap fastener kit on amazon for under $20 and I will probably never have to buy snaps again! Here is the link to that kit here.
Step 1 - Measure you blanket so you know about how large to cut your shower curtain.
Step 2 - Measure out and mark you shower curtain and cut it to size. This is where the straight edge comes in handy.
Step 3 - Lay the blanket upside down so the bottom of the blanket is face up and place the shower curtain on top. To keep the two together I used a safety pin. I also used the safety pin to help mark the location of where the snaps would go.
Use the safety pin to pin through both the blanket and the shower curtain mark the spot on both sides (blanket and shower curtain).
Step 4 - Find your snaps, there will be a total of four. Two for the blanket and two for the shower curtain. I used white colored snap for the blanket because it was white and a silver for the shower curtain.
The shower curtain will have the bottom snap, Note that it is the snap with the hole in the middle. The blanket will take the top snap which has the tip on it.
Step 5 - Time to get your Fastener Snap Pilers out and put the snaps in the tool and fasten them on.
There are two sides to the tool, one side has a hole in it and one does not. It is important to put the snap piece in properly for them to fasten together correctly. Take the bottom snaps and place the non spiky snap with the hole in it in the side of the tool with the hole in it. Make sure that the side shown below is facing up like I show you. Take the spiky snap with the spikes facing out of the tool.
(Once you press the two sides together the spikes will slide into the edge of the other snap and connect them together.)
The side of the tool with the hole will hold the snap but the other side where the spiky snap goes will not. Because of this I had to just flip my shower curtain corner over so that I could get the tool positioned correctly so that the snap wouldn’t fall on the ground. Slide the shower curtain between the tool and make sure the mark is in the middle of the hole in the tool and press hard. Release and your snap is in place. (Sometimes the snap got stuck in the hole side and I had to use gently lift it off with my finger nail.)
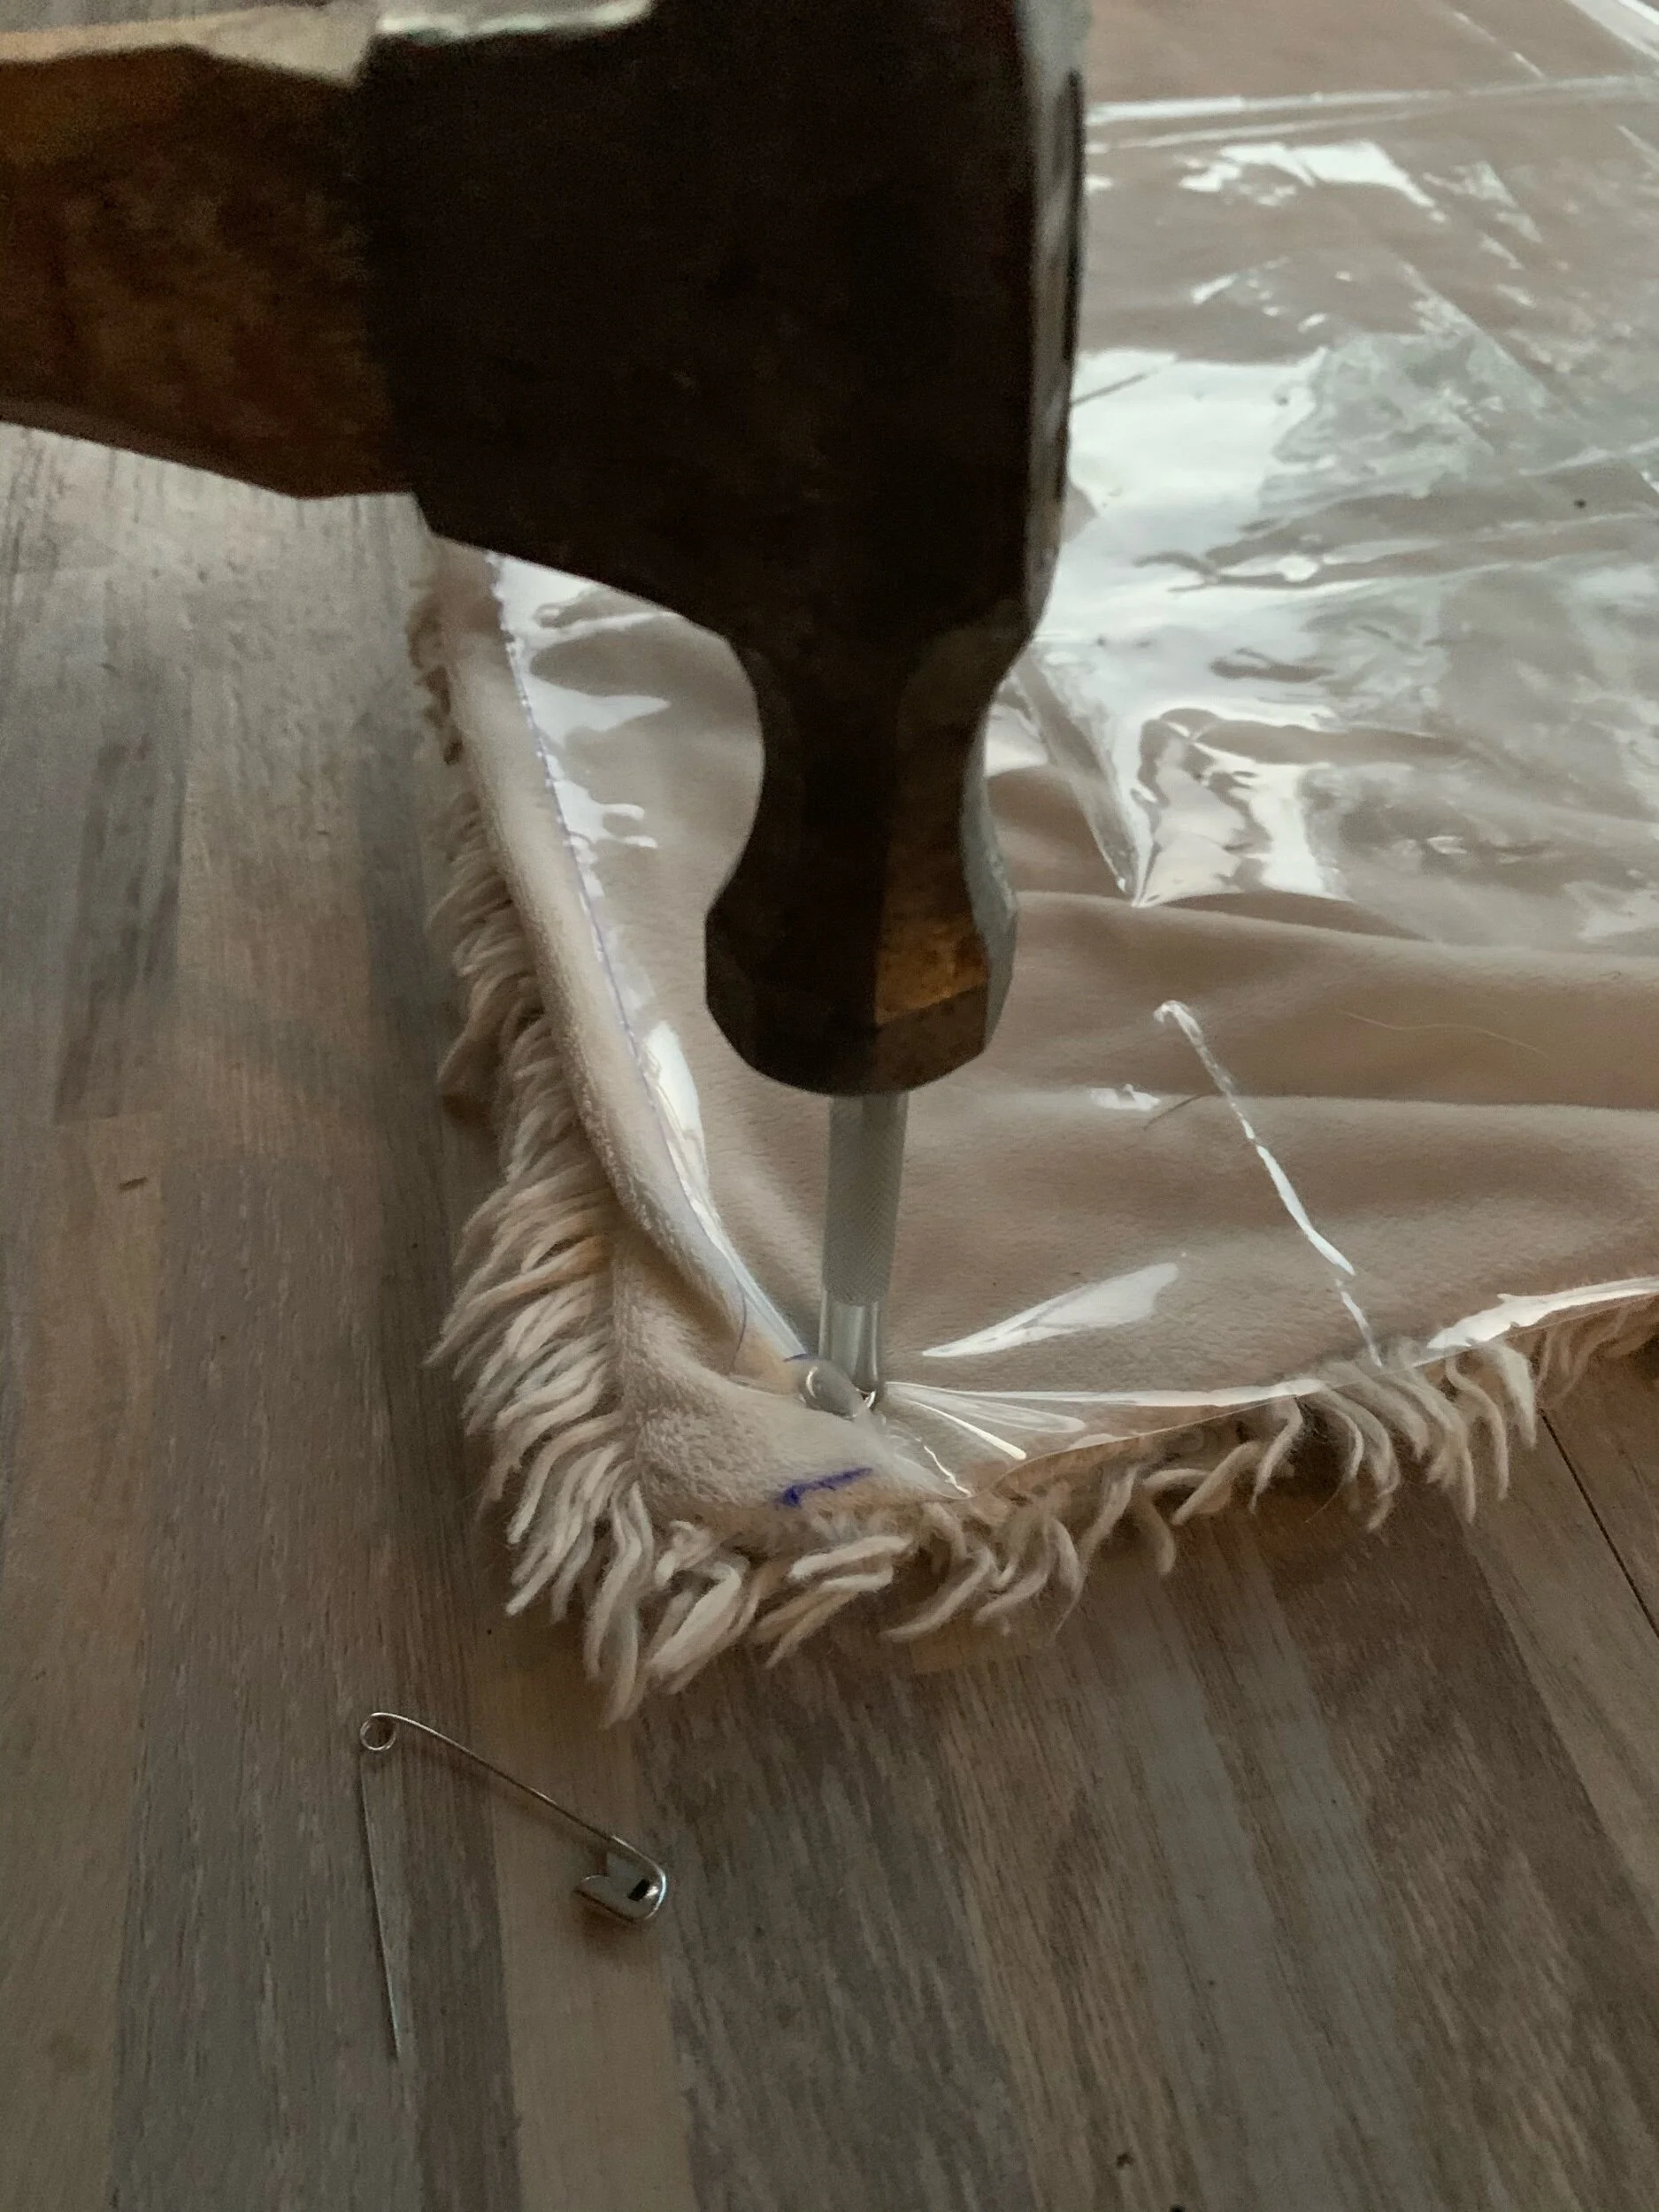
Step 6 - Take the cylinder tool that came with the kit and place it over the snap, while on the ground, and take your hammer and tap the snap a few good times. (The first snap I put on came off because it needs just a little extra for thick fabric to connect together completely.) This will make it so that your snaps don’t disconnect from each other or pull out when taking the waterproof backing off the blanket.
Step 7 - Add the top snaps to the blanket. Repeat the same steps but with this side the snap with the tip will go into the hole, hence why there is a hole in the tool, and the spiky side will sit the same way as the previous step spike side facing up. Since the blanket is upside down I didn’t need to flip over the blanket to slide the tool on because the spiky side needs to be on the outside and the tip on the inside so that the two snaps can connect together.
Step 8 - Once the two snaps have been placed and hammered to secure them you can snap the waterproof backing on. And voila you have a water proof backing that you can remove and add on when desired!
This set up can also be done as a picnic blanket for families that want a more versatile blanket option or for concert venues that have grassy areas i.e. White River Amphitheatre or Marymoor Park!


